
Search
Manual Mode Made Easy: A Beginner Photographer’s Guide to ISO, Aperture & Shutter Speed


When I first started photography, manual mode felt intimidating.
There were numbers everywhere. F-stops. Shutter speeds. ISO. Exposure meters. And somehow I was supposed to understand what all of them meant while also posing people, finding good light, getting everyone in focus, and trying not to look completely confused behind my camera. If you're at that stage right now, I promise you do not need to understand everything overnight. Manual mode is one of those things that starts to click the more you actually use it. And once it does? It changes everything.
Instead of letting your camera decide how your photo should look, you get to make those decisions. So let's make manual mode EASY.
What Is Manual Mode?
When your camera is in automatic mode, it's making most of the exposure decisions for you.
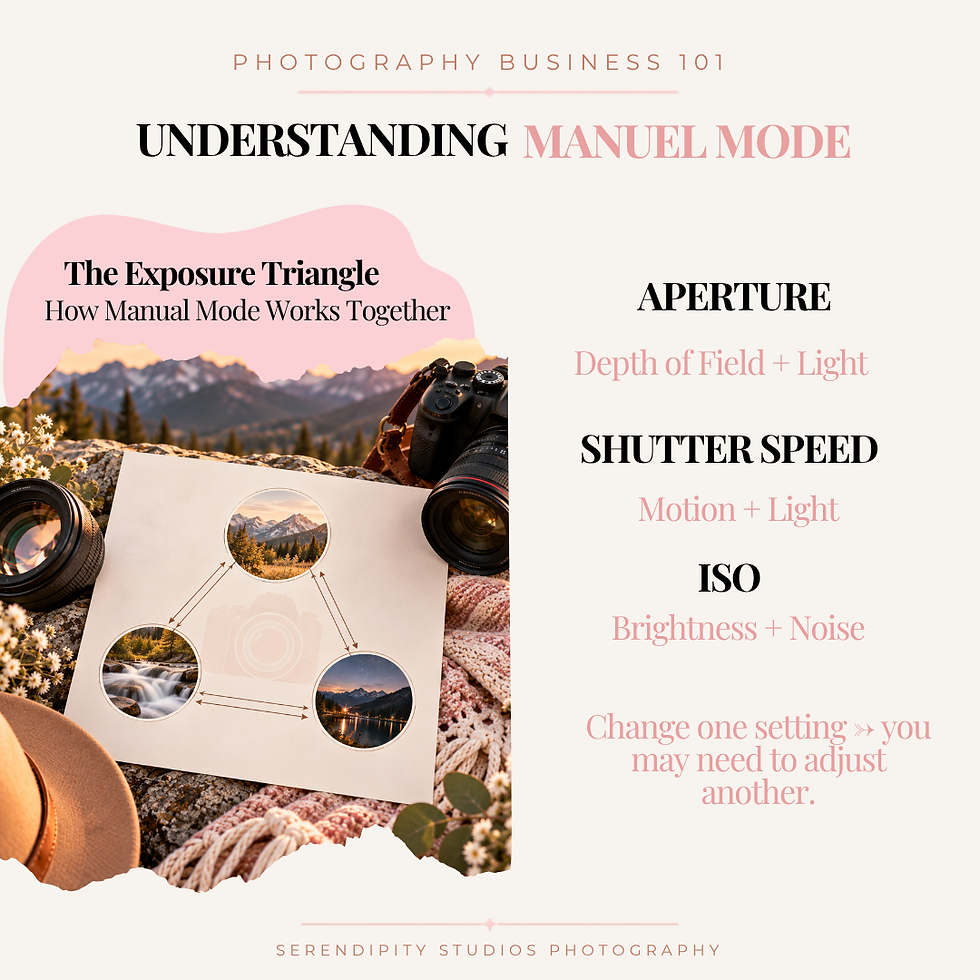
In Manual Mode (M), you're taking control of three major settings: Aperture, Shutter Speed, and ISO. Together, these make up what photographers commonly call the Exposure Triangle.
Each setting controls something different, but they all work together to determine how bright or dark your image will be. Think of them as a little photography team. Change one, and you may need to adjust another. The goal isn't to memorize a bunch of numbers. It's to understand what each setting does so you know which one to change when your photo isn't looking the way you want. Let's break them down.
1. Aperture: How Much Is in Focus?
Aperture is one of my favorite settings because it plays such a huge role in the look and feel of an image. You'll see aperture written as an f-number, such as f/1.8, f/2.8, f/4, f/5.6, and f/8.
Here's the part that confused me when I was learning: The SMALLER the f-number, the WIDER the aperture.
f/1.8 = wide aperture
f/8 = narrow aperture
A wider aperture lets more light into your camera and can create that beautiful soft, blurry background photographers love.
This is one of the reasons I recommend the 50mm f/1.8—aka the Nifty Fifty—to beginner photographers. It gives you access to those wider apertures without needing to spend thousands of dollars on a lens.

When would I use a wide aperture?
If I'm photographing one person, I may shoot around f/1.8–f/2.5. That can give me a beautifully sharp subject with a creamy background. But here's where beginners sometimes get into trouble. If you're photographing an entire family at f/1.8, you may discover that Mom is sharp, Dad is slightly blurry, and one of the kids is completely out of focus.
The more people you have, and especially if they're standing at different distances from your camera, the more depth of field you may need. For families, I often start somewhere around f/2.8–f/4 and adjust based on how everyone is positioned.
Beginner tip: Your aperture isn't just about brightness. Think about how many people need to be in focus.
2. Shutter Speed: Freeze the Moment
Shutter speed controls how long your camera's shutter is open.
You'll usually see numbers like 1/125, 1/250, 1/500, and 1/1000.
A faster shutter speed freezes movement. A slower shutter speed allows more motion to show.
And if you photograph families and kids like I do, shutter speed becomes VERY important.
Kids run.
Kids jump.
Kids twirl.
Kids suddenly decide that your perfectly posed family picture is the ideal moment to sprint toward you.
And I actually love those moments! But I need my camera settings to be ready for them.
For portraits, I generally like keeping my shutter speed relatively fast. If kids are moving, I'll often be around 1/500–1/1000 or faster because I'd rather increase my ISO a little than lose a beautiful moment because of motion blur.

Why are my photos blurry?
If your subject looks blurry even though you focused correctly, your shutter speed may simply be too slow for the movement happening in front of you. Try increasing it.
That's one of the easiest troubleshooting tricks to remember: Moving subject = faster shutter speed.
3. ISO: Your Camera's Brightness Helper
ISO is usually the setting beginners are scared to increase. Don't be.
ISO controls how strongly your camera amplifies the captured light signal, which affects the brightness of the resulting image.
You'll commonly see values like ISO 100, 200, 400, 800, 1600, and 3200.
A lower ISO generally gives you a cleaner image. A higher ISO can help you photograph in darker conditions, but it can also introduce more visible noise or grain.
If I'm outside with plenty of light, I may be able to use ISO 100–400. As the sun goes down during golden hour, I may need to increase it. Inside a home or another darker environment, I might need ISO 800, 1600, or higher. And that's okay.
A slightly noisy photo is better than a blurry photo.
This was something I had to learn. I would much rather raise my ISO and maintain a shutter speed fast enough to capture a sharp image than keep my ISO unnecessarily low and end up with motion blur. Modern cameras can also handle higher ISOs much better than many beginners realize. So don't be afraid of ISO. Use it when you need it.
How Aperture, Shutter Speed & ISO Work Together
Here's where manual mode finally starts making sense.
Imagine you're photographing a family during golden hour. You decide on aperture f/2.8 because you want a soft background while keeping the family in focus. Then you choose shutter speed 1/500 because the kids are moving. But now your image is too dark.
Instead of changing the aperture or slowing your shutter speed and sacrificing the look you want, you could increase your ISO. Maybe you go from ISO 200 to 400 to 800 as the sun continues to disappear. That's manual mode. You're deciding what matters most creatively and then adjusting your other settings around it.

Manual Mode Cheat Sheet for Beginner Photographers
Save this one! These aren't rules, they're starting points. Your settings will change depending on available light, your lens, your camera, movement, how many people you're photographing, and the look you're trying to achieve.
Outdoor Portrait — Aperture: f/1.8–f/2.8 | Shutter Speed: 1/500+ | ISO: 100–400
Family Session — Aperture: f/2.8–f/4 | Shutter Speed: 1/500+ | ISO: 100–800
Moving Kids — Aperture: f/2.8–f/4 | Shutter Speed: 1/800+ | ISO: 400+ / adjust
Golden Hour Portraits — Aperture: f/2–f/3.2 | Shutter Speed: 1/400+ | ISO: Adjust as light fades
Indoor Window Light — Aperture: f/1.8–f/2.8 | Shutter Speed: 1/250+ | ISO: 400–1600+
Couples — Aperture: f/2–f/3.2 | Shutter Speed: 1/400+ | ISO: Adjust for light
Screenshot this chart or save it to Pinterest so you have it the next time you practice!

What Should I Set First?
This is one of the questions I wish someone had answered for me as a beginner.
You don't necessarily have to adjust your settings in the same order every time. Instead, ask yourself: What matters most in this photograph?
If I'm photographing a running child, my priority may be shutter speed because I need to freeze movement. If I'm taking a portrait and want a gorgeous blurry background, my priority might be aperture. Then I'll use ISO to help me get the exposure where I want it.
Eventually, you'll stop thinking, “Okay... aperture... now shutter... now ISO...” You'll look at the scene and start knowing what needs to change. That comes with practice.
Stop Chasing the Exposure Meter
Here's another thing I wish I'd understood sooner.
Your camera's meter is a tool, not the final authority on how your photograph should look.
Your camera doesn't know your artistic intention. Maybe you're photographing someone against a bright sky. Maybe they're wearing white. Maybe you're intentionally creating a darker, moodier image. Learn how to read your mete, but also learn how to look at your actual image, check your histogram when needed, and understand your light.
You're the photographer. The camera is the tool.
Why Does My Photo Look Blurry?
Before blaming your camera or buying another lens, check a few things.
Your shutter speed may be too slow.
Your aperture may be too wide for the number of people you're photographing.
Your focus point may not be where you think it is.
Your subject may simply have moved after you focused.
This is why practice is SO important. Instead of only practicing during paid sessions, grab your kids, your spouse, your dog, your best friend, or literally photograph a coffee cup near a window.
Change ONE setting at a time and watch what happens. Take a photo at f/1.8, then f/2.8, then f/4. Look at the background. Now keep your aperture the same and change your shutter speed. Then experiment with ISO. This is how the numbers stop being random numbers and start becoming tools you understand. You Don't Need to Memorize Everything
If there's one thing I want you to take away from this blog, it's this:
You do not have to completely understand manual mode before you start using manual mode. I learned photography by doing it. And I still believe that's one of the best ways to learn.
Read the guides.
Watch the tutorials.
Save the cheat sheets.
Then grab your camera and GO SHOOT.
Make mistakes.
Overexpose something.
Underexpose something.
Accidentally shoot at 1/80 and wonder why every single photo of your child is blurry.
Then figure out why. Because every time you troubleshoot something yourself, you're teaching your brain how photography actually works.
Your Camera Isn't Making the Photo—You Are
Learning manual mode isn't about becoming obsessed with technically perfect settings. It's about gaining creative control.
You decide whether the background melts away.
You decide whether movement freezes.
You decide how you want your image to feel.
And once aperture, shutter speed, and ISO start working together in your head, your camera becomes so much less intimidating. Eventually you'll change settings without even really thinking about it. But you don't get there by waiting until you understand everything.
You get there by picking up your camera and practicing.
So switch that dial over to M, grab somebody willing to be your model, and start playing. You've got this. Keep Learning With Me
This blog is part of my Photography Business 101 + Beginner Photography Education Series, where I'm sharing the things I wish someone had explained to me when I was first building my photography business.
If you're just getting started, check out:
And stick around because we're going to keep breaking photography down into simple, practical steps you can actually use.
Serendipity Studios Photography
Photography education from one photographer to another.
Alexandria


Comments